How to Transfer Files from PC to PC in Windows 10
Transferring files between Windows 10 PCs in the workplace can be accomplished in a number of ways, but the most convenient options like message attachments or file-sharing services can be problematic if the files are very large or contain sensitive information. Large files can be disallowed by email or messaging services to restrict the load on their bandwidth, and security issues abound for files that are transferred to servers outside of a company's control. There's always the risk of third parties gaining access to copies of the files you upload by hacking or other means of subterfuge.
File transfers can be managed in a way that keeps the files inside a company's local area network, but they can be difficult to configure and often suffer from connection problems that are difficult to diagnose and fix. What if there was a user-friendly messenger app that functions as a peer-to-peer collaboration tool over a LAN?
Softros Systems has just the solution: an app called Softros LAN Messenger. It's a collaborative tool that lets team members communicate and send attachments to each other over a secure local area network or Wi-Fi connection. Below is a step-by-step guide to sending files from one Windows 10 PC to another using this application.
Step 1: Setting up Your PCs
The first step for our demonstration of LAN Messenger is to select two or more Windows 10 PCs that are connected to the same local network. This could be accomplished with an Ethernet cable to a router or a Wi-Fi connection. It doesn't matter how fast the connection is as long as the two computers can communicate with each other on the local network.
Step 2: Installing LAN Messenger on the PCs
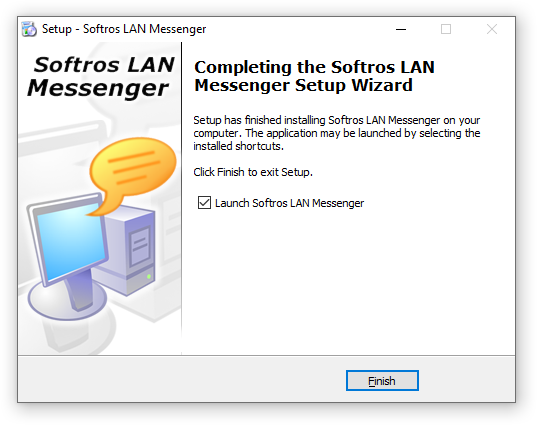
For LAN Messenger to work as a peer-to-peer app, a copy needs to be installed on each PC that will send or receive messages. You can download a free trial copy of LAN Messenger on Softros Systems' download page. Once you have the installation file downloaded, run the executable and follow the installation wizard's instructions.
After LAN Messenger is installed, it scans all the computers in a local network and creates users lists automatically.
Step 3: Sending Files to a Contact
Transferring files to contacts who are set up in LAN Messenger is a fairly simple task, but it can be done in a couple of ways. The easiest way is to click the contact's name in LAN Messenger's contact list. A message window will open. You can then send one or more files by dragging and dropping them into the window. You can select multiple files or drag and drop folders to send a batch of files in a single transfer.
A second way to send files is to choose this option in a message window. You can do this by clicking the "Send File(s)" button in the upper right corner of the message window. A file selection dialogue will open. Again, you can choose one or more files for the transfer.
Step 4: Broadcast File Transfer
How to send files to multiple users at the same time
LAN Messenger version 9.2 includes a feature called broadcast file transfer that allows files to be sent to multiple users simultaneously. Older versions of the app support receiving files sent in this way, but they aren't able to send files to more than one user at a time.
There are two ways to begin a broadcast file transfer. You can send multiple files to all the users in a group conversation, or you can initiate a broadcast message from the LAN Messenger app window.
If you want to transfer files using a broadcast message, you can do this by right-clicking the name of a user group on the app's contact list. You'll see an option in the menu that appears called "Send Message to Group." Clicking this option will open a "Send Broadcast Message" window. A panel on the right allows you to select the groups you want to include. You can type a message and drag files onto the message window to add them to the transfer.
Clicking "Send" will initiate the broadcast transfer to everyone in the groups you chose, and you can monitor the progress of the transfer by clicking the information icon above the progress bar.
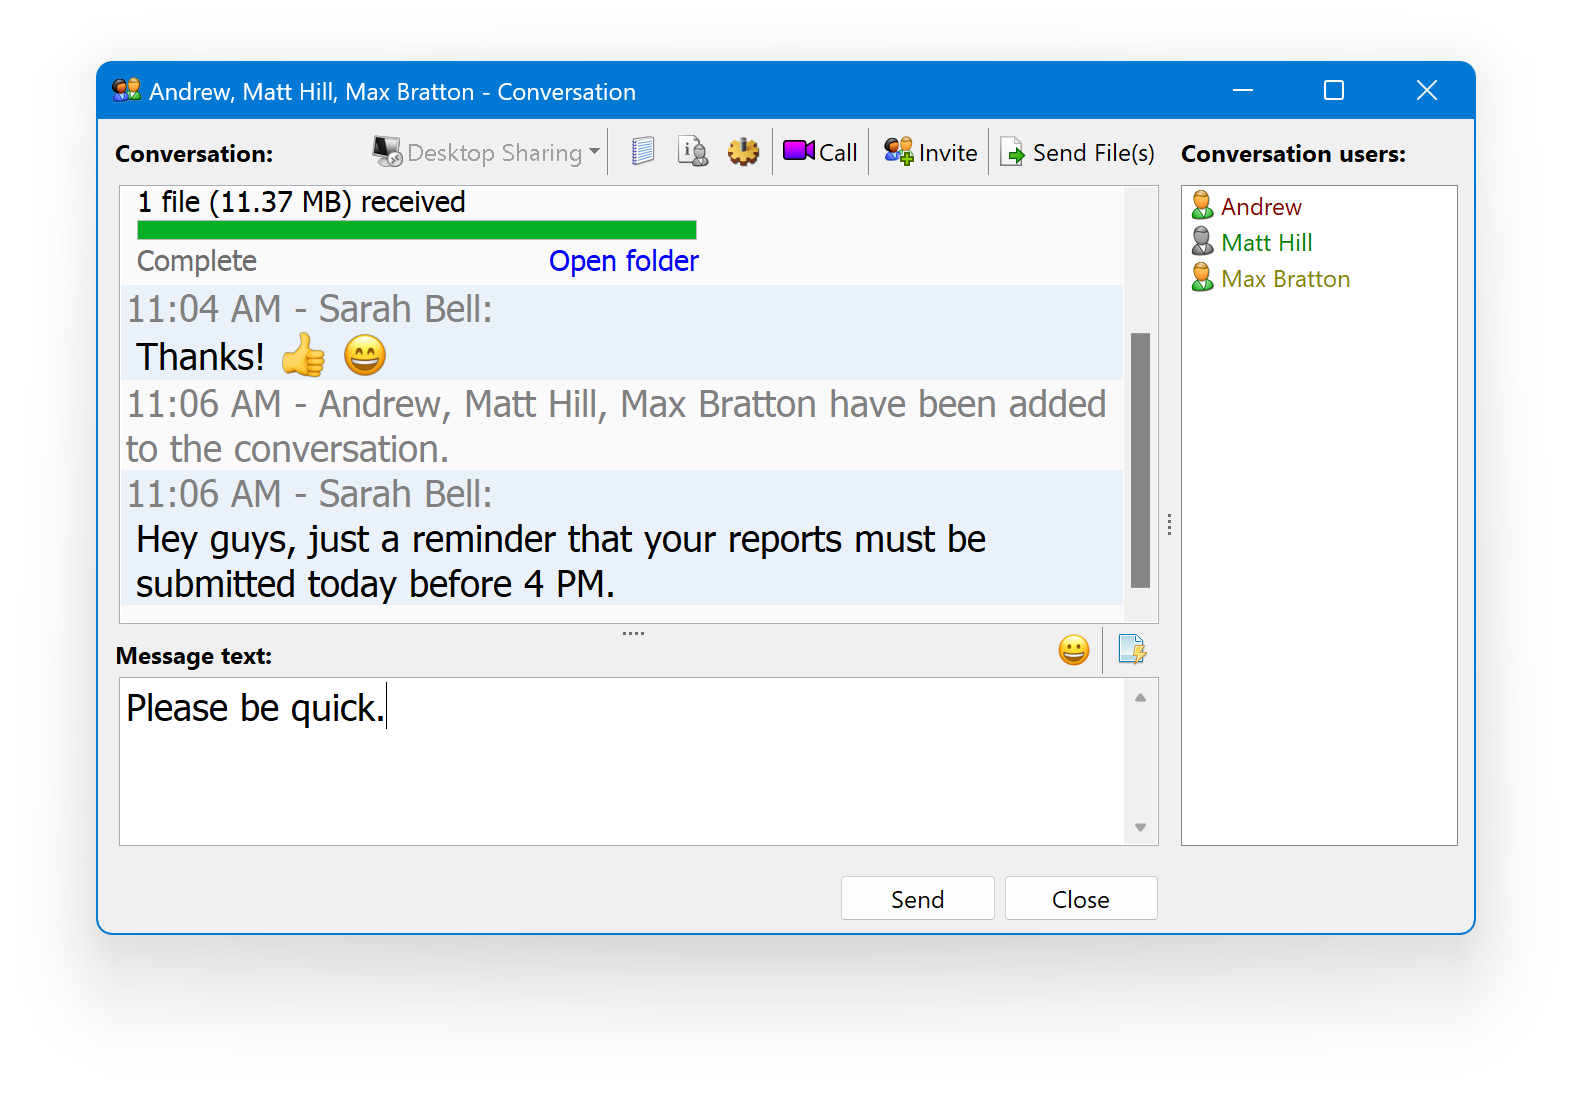
A similar process is used to send files in a group conversation. When you create a group conversation, you can send files to everyone by dragging files or folders onto the message window. You can also select files with the "Send Files(s)" button on the window's toolbar. A transfer progress bar will appear for the sender and recipients, and you can monitor the transfer of multiple files by clicking the information icon.
Step 5: Receiving the Files
Receiving a file is also a straightforward process. When you transfer files, you'll see a transfer progress bar on both the PC that's uploading the files and the PC that's downloading them. When the progress bar indicates the transfer is complete, you'll see an "Open Folder" link under the bar. Clicking it will open a window that lets you view, open, or copy the transferred files.
Conclusion
That's the basic procedure to follow when you need to share files over a local connection using LAN Messenger. Hopefully, this guide has answered any questions you have, but if not feel free to contact Softros Systems for more details. Download the trial version of LAN Messenger to try it yourself, and enjoy the convenience and security of collaborating over a local network connection.