How to Share a Windows PC's Screen with Any Computer Over a LAN
Screen sharing is one of the more powerful tools for resolving user problems remotely in a tech support department's toolbox. It's the closest thing to being at the workstation when you're documenting an issue or stepping a user through a solution.
Diagnosing and solving problems can be faster to implement if you can interact with their computer rather than tell them the steps over chat or a voice call. This is why Microsoft built remote desktop access into its operating system. System administrators also can use this remote desktop feature on Windows 10 to log into workstations, which makes managing computers in various locations much easier.
The difficulty of managing remote desktop access safely in a secure corporate environment can be tricky, however. Allowing this type of access to your network can lead to security breaches if unauthorized people can log into servers that contain sensitive data or software. One solution to this problem is to adopt a single app that can be used by your tech support and system administrators. It would need to be designed for security and collaboration over a local network.
Softros Systems has a product that fits this role well: Softros LAN Messenger. It's a versatile messaging app designed for businesses that want to keep these types of user-to-user connections secure. One of its core functions is to allow remote desktop sessions. In this guide, we'll walk you through a simple demonstration of how it works.
Step 1: Installation
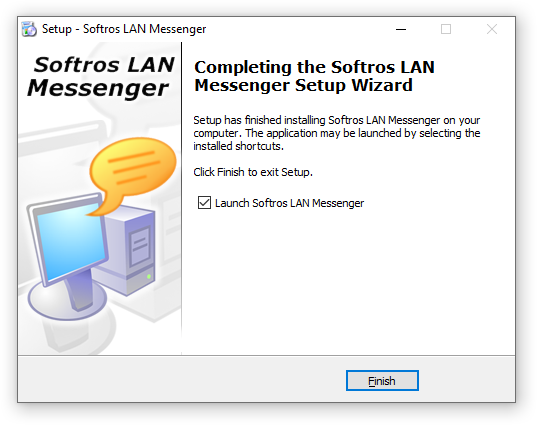
The first step is to install LAN Messenger on two or more Windows PCs that you want to use for this demonstration. You can download free trial copies of the app on Softros's website. After you download the file, open the executable and follow the instructions in the installation wizard.
Step 2: Setting up LAN Messenger
After all the copies of LAN Messenger have been installed for this remote desktop exercise, the application will scan a local network and add all installed clients in the LAN Messenger contact list. This will allow you to select which PC you want to interact with as you follow along.
Step 3: Requesting Assistance
When a user approaches tech support with a problem, they can request assistance with a screen sharing session. Let's imagine that the tech support technician's name is John.
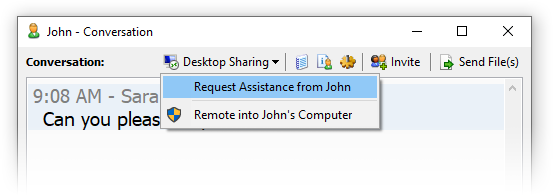
Click on John's name in LAN Messenger's Contact List. This opens a messaging window with him. This window displays the conversation with John and also makes a number of other functions available. One of them is desktop sharing, which has a drop-down menu button in the middle of the toolbar.
Click "Desktop Sharing" and then select the "Request Assistance from John" option. This sends an authorization message to John, which he can accept or refuse. If he accepts it by clicking "Yes," a remote assistance session will open on his PC displaying your desktop screen. He can then interact with your desktop as though he were at your workstation. If he needs more space, he can set the session window to full-screen mode.
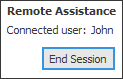
An "End Session" button is displayed in the lower right corner of your desktop while the remote assistance session is active, which either of you can click to complete the session.
Step 4: Remoting into Another Computer
It's also possible to remote into another computer without an invitation from the user on the other end. You'll need the login credentials for the desktop user to do this. The process, however, is essentially the same as requesting assistance. Let's pretend John is now a user, and we're a system administrator who needs to install a software update on his PC.
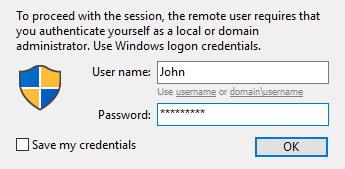
Click on John's name in LAN Messenger's Contact List, and then click the "Desktop Sharing" button on the messaging window that opens. Select the option to "Remote into John's Computer." A remote administration session window will open and prompt you for John's Windows login credentials. Enter his user name and password, and then click "OK." The session begins and functions the same as a remote assistance session. Click "End Session" in the lower right corner of the remote desktop when you're done.
Conclusion
That's the basic procedure for screen sharing and remote desktop sessions using Softros LAN Messenger. We hope this has answered most of your questions. If not, Softros support team can help you at their website. Feel free to download the trial version of LAN Messenger and try it today.